
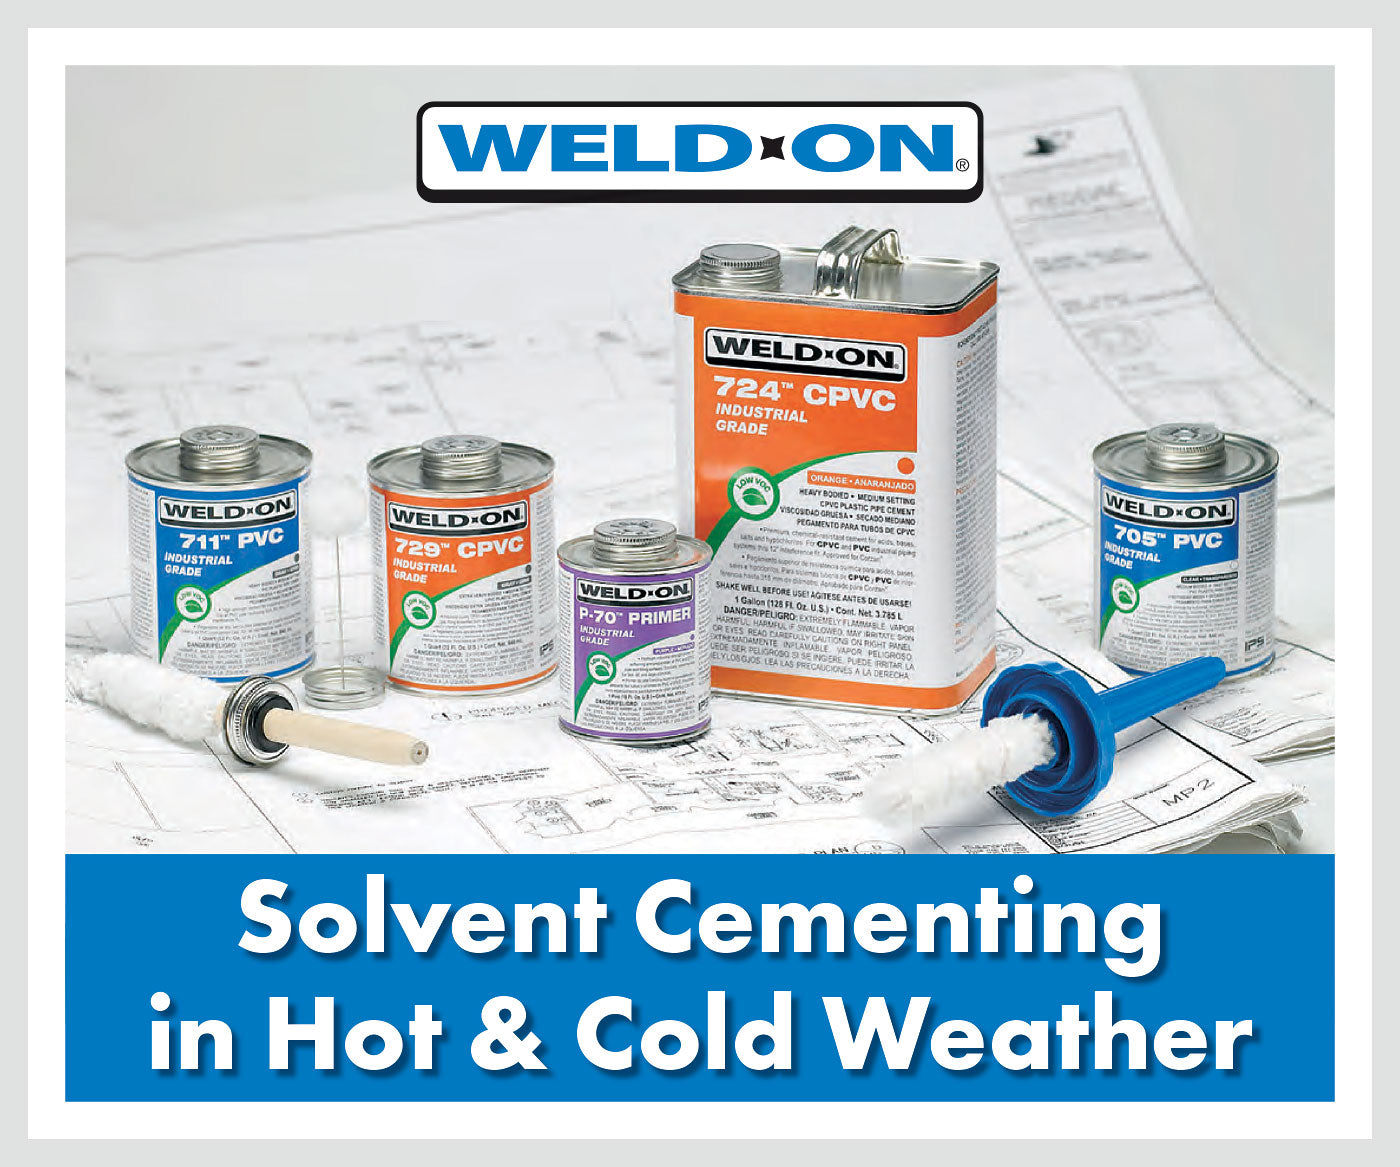
Temperature is one of the most overlooked variables in a successful solvent cement joint. Most installers understand the basic procedure, but the same steps that produce a reliable joint at 70 degrees Fahrenheit can lead to failure at 100 degrees or 20 degrees if the right adjustments are not made. At Alsco Industrial, we want to make sure your joints hold up regardless of what the weather is doing.
This guide covers what happens to solvent cement in extreme temperatures, why it matters, and exactly what to do about it on the job site.
Why Temperature Affects Solvent Cement Joints
Solvent cement works by chemically softening the surfaces of the pipe and fitting so they fuse together as the solvents evaporate. That evaporation rate is directly tied to temperature. When it is hot, solvents evaporate faster than normal, which shortens your working window. When it is cold, solvents penetrate the plastic more slowly and evaporation slows significantly, which extends the time needed before the joint can be handled or pressurized.
Neither extreme is a reason to stop work. Both require awareness and a few practical adjustments.
Solvent Cementing in Hot Weather
What Happens to Cement in High Heat
When ambient temperatures climb above 95 degrees Fahrenheit, solvent cements begin evaporating faster than under normal conditions, especially if there is any wind. Pipe stored in direct sunlight can reach surface temperatures 20 to 30 degrees higher than the surrounding air temperature. On a 95-degree day, the pipe surface itself may be well above 120 degrees. Solvents attack those hot surfaces faster and penetrate deeper, which sounds like a benefit but creates a real problem: if the cement begins evaporating before the pipe is inserted into the fitting, the surfaces will not fuse properly. The assembly window shrinks significantly.
The other risk in hot weather is puddling. When solvents are active and evaporating quickly, excess cement that pools inside the fitting socket can soften the socket walls too aggressively, particularly in thin-wall or bell-end pipe. Every step in the process needs to be deliberate and fast.
Hot Weather Tips for Solvent Cementing Plastic Pipe
- Store materials in shade or a cool area. Solvent cements and primers should never sit in a hot truck bed or in direct sun before use. Keep them in a cooler or shaded space until they are needed. If possible, store fittings and pipe ends the same way.
- Cool the pipe surfaces before cementing. Wipe the pipe end and fitting socket with a damp rag to bring the surface temperature down before applying primer or cement. Make sure the surface is fully dry before proceeding.
- Work during the cooler hours. If the schedule allows, plan solvent cementing for early morning before temperatures peak. This gives you more working time and reduces the risk of premature evaporation.
- Make sure both surfaces are still wet when you assemble. This is critical in hot weather. Apply cement to the pipe, apply cement to the fitting socket, and insert the pipe immediately. Do not pause between steps. If you are working with large-diameter pipe, bring additional crew members so both surfaces can be coated simultaneously and assembly can happen without delay.
- Use primer and a heavier-bodied cement. Primer initiates the softening process before the cement goes on, giving you a better bond even if the working time is compressed. A higher-viscosity cement will stay wet on the surface slightly longer than a thin-bodied cement, giving you a little more time to complete assembly.
- Shake or stir the cement vigorously before use. This ensures consistency in the can and proper application from the first stroke.
- Account for thermal expansion. Hot weather causes plastic pipe to expand more than it would at normal temperatures. Anchored connections and final tie-in joints should be made during the cooler parts of the day to avoid dimensional issues caused by heat expansion.
Solvent Cementing in Cold Weather
What Happens to Cement in Cold Temperatures
Cold weather presents the opposite set of challenges. At low temperatures, solvents penetrate and soften plastic pipe and fitting surfaces much more slowly than in warm conditions. The plastic itself becomes more resistant to solvent attack. Because of that slower penetration, the surfaces may not soften deeply enough to fuse properly unless primer is applied aggressively. And because evaporation slows in the cold, the joint takes significantly longer to reach both initial set and full cure.
With proper technique and the right materials, reliable solvent cement joints can be made at temperatures as low as negative 15 degrees Fahrenheit. It takes more care, more time, and a few specific adjustments to the standard procedure.
Cold Weather Tips for Solvent Cementing Plastic Pipe
- Prefabricate as much as possible in a heated environment. Any joints that can be made indoors or in a temporary heated shelter should be. Warm conditions produce stronger bonds faster. The more of the system you can assemble before taking it out into the cold, the better.
- Keep cements, primers, fittings, and valves warm until they are needed. Store them in a heated area or insulated container when not in use. Cold cement becomes thick and difficult to apply evenly. When PVC cement drops below 41 degrees Fahrenheit in the can, it becomes too thick to apply effectively. A can that has been sitting in a freezing truck bed all morning may not perform the way you expect.
- Remove all moisture from surfaces before cementing, including ice and snow. Any frozen or liquid moisture on the pipe or fitting will interfere with solvent penetration. Pay particular attention to the area around the pipe end and inside the fitting socket.
- Use an aggressive primer and apply it thoroughly. In cold conditions, primer does more of the heavy lifting. It needs to penetrate and soften the surface adequately before cement is applied. Apply it with more passes than you would in warm weather, and do not allow it to dry before the cement goes on.
- Shake or stir cement vigorously before applying. Cold thickens cement, and settling can cause inconsistency. Agitating it restores proper viscosity and ensures uniform application.
- Allow significantly more set and cure time before handling or pressure testing. This is the most important adjustment in cold weather work. Joints that would reach initial set in two minutes at 70 degrees may require ten minutes or more at temperatures below 40 degrees. A joint that could be pressure tested in 90 minutes at normal temperatures may need 72 hours or more in cold conditions, depending on pipe size and humidity. If in doubt, allow more time rather than less. A heat blanket can be used to help accelerate set and cure when conditions are extreme, but applied heat should not exceed 100 degrees Fahrenheit.
- If pipe is to be buried, complete as many joints as possible above ground and allow them to fully cure before lowering into the trench. Cold ground adds another variable. The more curing that happens in a controlled environment, the better.
Set and Cure Time Reference for PVC and CPVC Solvent Cement
The set and cure time figures below come from the official Weld-On Set and Cure Time Table, a resource Alsco Industrial recommends downloading and keeping on hand. Weld-On is a brand we carry and trust, and their documentation is among the most thorough in the industry. Keep in mind that set and cure times vary between manufacturers and product formulations, so always refer to the technical data sheet for the specific cement you are using.
The following table reflects average set and cure times for Weld-On PVC and CPVC solvent cements under varying temperature conditions. These are general estimates based on laboratory testing. Field conditions vary, and in damp or humid weather, set and cure times should be extended by 50%.
Average Initial Set Times
| Temperature Range | 1/2" to 1-1/4" Pipe | 1-1/2" to 2" Pipe | 2-1/2" to 8" Pipe | 10" to 15" Pipe | 15"+ Pipe |
|---|---|---|---|---|---|
| 60 to 100°F | 2 minutes | 5 minutes | 30 minutes | 2 hours | 4 hours |
| 40 to 60°F | 5 minutes | 10 minutes | 2 hours | 8 hours | 16 hours |
| 0 to 40°F | 10 minutes | 15 minutes | 12 hours | 24 hours | 48 hours |
Initial set time is the minimum period before a joint can be carefully handled. Do not confuse this with cure time.
Average Joint Cure Times (at 60% Relative Humidity or Less)
| Temperature Range | 1/2" to 1-1/4" up to 160 psi | 1-1/2" to 2" up to 160 psi | 2-1/2" to 8" up to 160 psi | 10" to 15" up to 100 psi | 15"+ up to 100 psi |
|---|---|---|---|---|---|
| 60 to 100°F | 15 minutes | 30 minutes | 1.5 hours | 48 hours | 72 hours |
| 40 to 60°F | 20 minutes | 45 minutes | 4 hours | 96 hours | 6 days |
| 0 to 40°F | 30 minutes | 1 hour | 72 hours | 8 days | 14 days |
Cure time is the minimum period before the system should be pressurized. In damp or humid weather, add 50% to all cure times. These figures are estimates. Field conditions vary significantly and this table should be used as a general reference only.
Frequently Asked Questions About Temperature and Solvent Cementing
Q: Can I solvent cement plastic pipe in freezing temperatures?
A: Yes. With proper technique, solvent cement joints can be made successfully at temperatures as low as negative 15 degrees Fahrenheit. The keys are aggressive primer application, keeping materials warm, removing all moisture from surfaces, and allowing significantly more set and cure time than you would in normal conditions.
Q: Can I solvent cement plastic pipe in direct sunlight on a hot day?
A: Yes, but it requires extra care. Shade the pipe ends and fittings before cementing, work quickly once cement is applied, and make sure both surfaces are still wet when you assemble the joint. Adding crew members so both surfaces can be coated simultaneously is strongly recommended for larger pipe sizes.
Q: How do I know if my cement is too cold to use?
A: If PVC solvent cement has been exposed to temperatures below 41 degrees Fahrenheit, it may be too thick to apply properly. Bring it to a warmer environment, allow it to return to normal temperature, and shake or stir it vigorously before use. Never try to thin cement by adding primer, cleaner, or solvent of any kind.
Q: Does humidity affect cure time?
A: Yes. In damp or humid conditions, add 50% to both the set time and the cure time. Moisture slows the evaporation of solvents from the joint, which extends the time needed to develop full bond strength.
Q: What if I need to speed up cure time in the cold?
A: A heat blanket or heat lamp can be used to warm the joint area and accelerate set and cure. Applied heat should not exceed 100 degrees Fahrenheit. Do not use open flame or torches near freshly cemented joints, as solvent vapors are flammable.
A Note on Safety in Extreme Temperatures
Solvent cements and primers are flammable under all conditions, but the hazard is heightened in hot weather when evaporation rates are highest. Vapors are heavier than air and can travel along the ground to ignition sources some distance away. Always work in well-ventilated areas, keep containers closed when not in use, and avoid any open flame, sparks, or smoking near work areas. In confined spaces such as well casings, elevator shafts, or basements, ensure vapors are fully cleared before using any spark-generating equipment.
We Carry What You Need for Any Condition
Alsco Industrial stocks a full selection of solvent cements, primers, and applicators suited for a wide range of pipe materials, sizes, and working conditions, including specialty formulations designed for wet, hot, and cold weather applications. Browse our complete Cement, Primers and Applicators collection online, or contact our team for help selecting the right products for your specific job conditions.
Call us at 888-849-3030. We are here to help you get it right the first time, no matter the weather.