
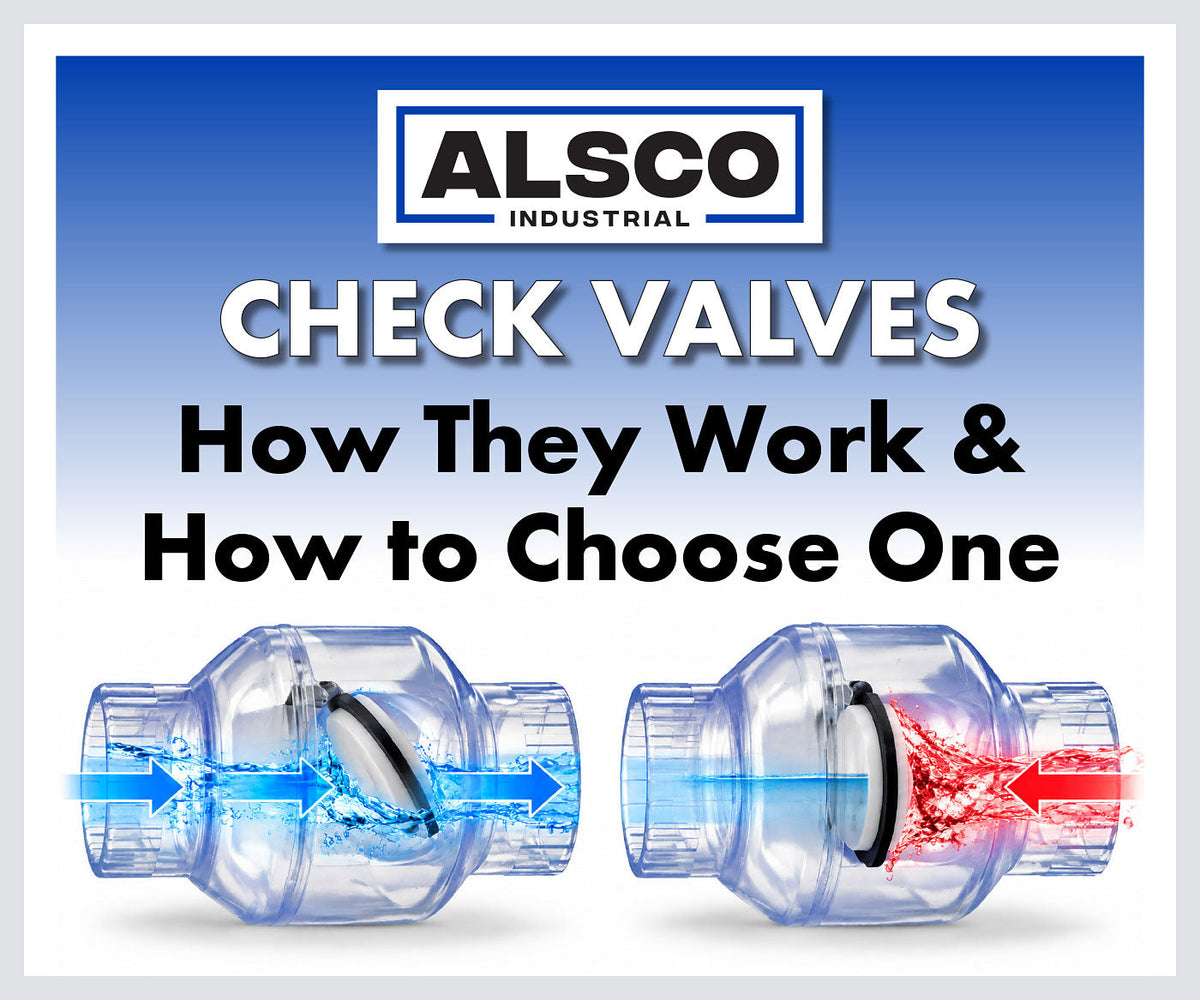
A check valve lets fluid flow in one direction and closes automatically to stop backflow. It needs no handle or actuator: forward flow opens it, and reverse flow, gravity or a spring closes it. Check valves protect pumps and equipment from reverse flow and keep lines from draining back. If you are still deciding between valve types, see How to Choose the Right Industrial Valve.
How Does a Check Valve Work?
Upstream pressure pushes the closing element (a ball, disc, piston, poppet or diaphragm) off its seat, and fluid flows through. When flow stops or reverses, back pressure, gravity or a spring returns it to the seat. Most ball and swing check valves need a small amount of back pressure to seal fully, typically a few psi, so check the minimum listed for your valve.
Types of Check Valves
Ball check. Forward flow lifts a ball off the seat. When flow stops, gravity and back pressure return the ball to the seat. With no spring and few moving parts, it is a simple, low-maintenance design. Ball checks need some back pressure to seal, typically a few psi, and are not suited to fluids containing slurry. True union versions can be removed from the line for cleaning or service.
Swing check. A hinged disc swings open with forward flow and swings closed against the seat when flow reverses. Because it closes on reverse flow, a sudden reversal can slam the disc shut. Some swing checks offer spring-assist or lever-and-weight options that close the disc faster and reduce water hammer. Clear PVC swing checks let you see the disc working.
Spring check. A spring holds the disc or poppet against the seat, so the valve stays closed until forward flow pushes it open. When flow stops, the spring closes it right away, before reverse flow builds, which helps prevent slamming and water hammer. Because the spring does the closing instead of gravity, some spring checks can be installed in any position. Some designs fully enclose the spring so no metal contacts the fluid, and some are offered with different spring strengths.
Diaphragm check. A flexible diaphragm seals against the seat. It closes bubble tight even with zero inlet pressure and does not depend on gravity, mounting position or reverse flow, so it can be installed in any position. It begins to open at about 1 to 1.5 psi. With no sliding or loose parts, there is nothing to slam or chatter.
Wafer check. A thin body fits between two pipe flanges, saving space on larger lines. A spring dampens the opening and closing action to avoid water hammer. Wafer checks can be installed in horizontal or vertical piping.
Y-check. A piston moves in a Y-shaped body and seats against reverse flow. It needs a minimum back pressure to seat, about 2 psi for some designs. Clear PVC versions let you see the piston working.
Swing vs. Spring Check Valves
A swing check closes when flow reverses, so a sudden reversal can slam the disc shut and cause water hammer. A spring check closes as flow stops, before reverse flow builds, which reduces slamming. A spring speeds up closing, but most valves still need their minimum back pressure to seal.
Choosing a Check Valve Material
Match the valve body (PVC, CPVC, PP or PVDF) and the seal material (such as EPDM or FKM) to the fluid, temperature and pressure. Clear PVC lets you see the valve working. Contact us for help choosing the right materials. Some check valves are not rated for compressed air or gas, so confirm the rating before using one in air or gas service.
How to Install a Check Valve
A check valve only works if it is in the right place, facing the right way, with enough pressure behind it to close. Plan these before you install it, and always follow the manufacturer's instructions for your valve.
1. Choose the Location
Keep it away from pumps and elbows. Water leaving a pump or turning through an elbow is turbulent. A check valve placed in that turbulence can flutter, chatter and wear out early. Leave a straight run of pipe before the valve of 5 to 10 times the pipe size. On a 2 in. line, for example, that means 10 to 20 in. of straight pipe between the pump or elbow and the check valve.
Put a strainer upstream. Dirt or debris caught on the seat is one of the most common reasons a check valve will not close completely. A strainer ahead of the valve keeps it clean.
Make sure there is enough back pressure to close it. Back pressure is the pressure pushing on the valve from the downstream side once flow stops. In a vertical line, for example, it comes from the weight of the fluid standing in the pipe above the valve. Ball, swing and Y-checks need some back pressure to seal tightly. A ball check that needs 5 psi to seal needs more than 11 ft of fluid above it. If your line cannot provide that, a spring or diaphragm check, which closes on its own, is a better choice.
2. Set the Direction and Position
Point the arrow with the flow. Every check valve has a flow arrow on the body. Install it so the arrow points the way the fluid travels. A valve installed backwards blocks flow completely.
Install it in a position the valve is designed for. As a general rule of thumb:
Ball check
- Horizontal pipe: Yes
- Vertical pipe: Yes, with flow going up
- How it closes: Gravity and back pressure return the ball to the seat
- Note: Do not install in a vertical line with flow going down
Swing check
- Horizontal pipe: Yes
- Vertical pipe: Yes, with flow going up
- How it closes: Gravity and reverse flow swing the disc closed
- Note: Do not install upside down or in a vertical line with flow going down
Spring check
- Horizontal pipe: Yes
- Vertical pipe: Yes, with flow going up or down for many designs
- How it closes: A spring pushes the disc or poppet onto the seat
- Note: A good choice where gravity or back pressure cannot be relied on to close the valve
Diaphragm check
- Horizontal pipe: Yes
- Vertical pipe: Yes, with flow going up or down
- How it closes: The diaphragm seals itself without relying on gravity or reverse flow
- Note: Works in any position
Wafer check
- Horizontal pipe: Yes
- Vertical pipe: Yes, with flow going up
- How it closes: A spring closes the disc
- Note: Install with the locating ears at the top
Y-check
- Horizontal pipe: Yes, with the cap facing up
- Vertical pipe: Check the manufacturer's instructions
- How it closes: Back pressure pushes the piston onto the seat
- Note: Do not install with the cap upside down
Always confirm the position in your valve's instructions.
Shop Check Valves
Browse our full selection of check valves, or contact us for help choosing the right valve for your line.
Check Valve Leaking? Common Causes
- Debris or loose thread tape caught on the seat
- A worn or scratched seat, ball or disc
- Too little back pressure to seat the valve
- Installed in an orientation it is not rated for
- Seal material not compatible with the fluid
Clean the seat and check the installation first. If the valve still leaks, replace the worn parts or the valve.
Frequently Asked Questions About Check Valves
Q: What is the difference between a check valve and a ball valve?
A: A ball valve is opened and closed by hand or an actuator to start or stop flow. A check valve works on its own. It allows flow in one direction and closes to stop backflow.
Q: Can a check valve be installed vertically?
A: Many can, with flow going up. Spring and diaphragm checks can often be installed with flow going up or down. Always confirm the position in your valve's instructions.
Q: Where should a check valve go on a pump?
A: On the discharge side, with a straight run of pipe 5 to 10 times the pipe size between the pump and the valve.
Q: Why does my check valve slam or chatter?
A: Slamming happens when the valve closes on reverse flow, which is common with swing checks. A spring check closes before reverse flow builds. Chatter usually comes from turbulence near a pump or elbow, or from a valve that is too large for the flow.